You should never install an extension directly onto your production website. Please install
this extension onto a staging version of your website and verify it's compatibility.
Take a Backup Of Your Database
Most extensions will modify your database and some complex extensions will modify Magento's
Db Tables. It's important that you take a backup of your website database before attempting
an install.
To take a backup with Magento's built in backup tool, navigate to
Admin Panel > System > Tools > Backups.
Database backup files are compressed using the .gz format. The .tgz
format is used for system, database, and media backups. Backup files
are stored in the var/backups directory in your Magento file system.
The files that are stored in the /var/cache, /var/log, /var/session and
/var/report folders are excluded from the backup.
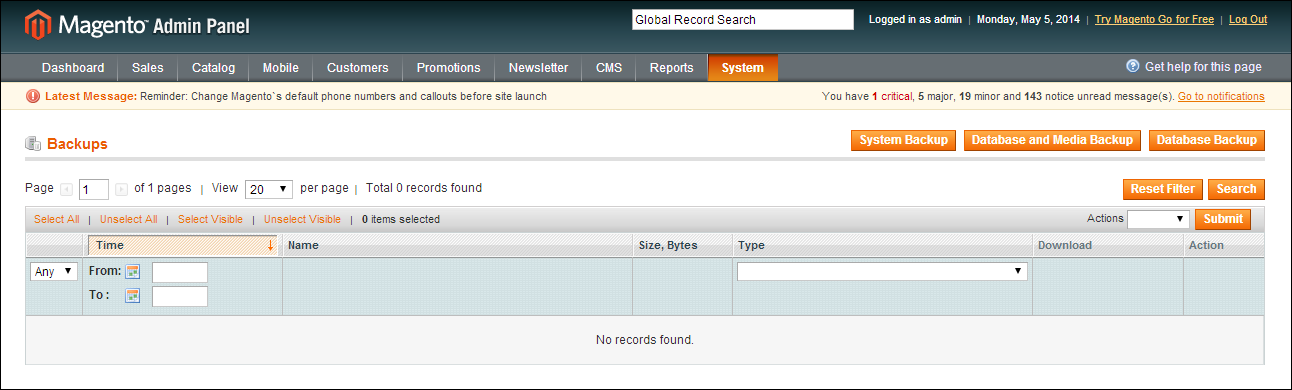 To Create a Single Backup
1. Click one of the following buttons, depending on the type of backup you need to create:
- System Backup will create a .tgz of the entire source code and the database.
- Database and Media Backup will create a .tgz containing a database backup and the contents of the media directory
- Database Backup will backup only the database
2. When prompted that the backup will take time, click OK to continue.
3. To put the store into maintenance mode during the backup, select the checkbox.
After the backup is created, maintenance mode is turned off automatically.
4. If you are creating a system backup, select the Include Media folder to
System Backup checkbox if you want to include the media folder. When prompted, confirm
the action.
All backups are listed on the Backups page. Deleting a record from the list deletes
the archive file as well.
Take a Backup Of Your Database With Connect Manager
If the option above was not available to you, this option may be easier.
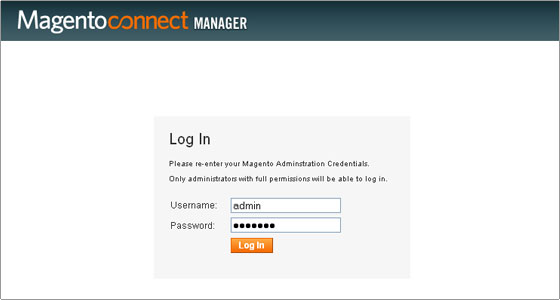
1. On the Admin menu, select System > Magento Connect > Magento Connect Manager.
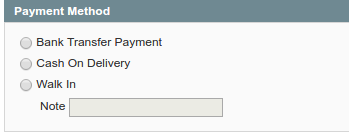
2. Select the Create Backup checkbox and select the backup type.
3. Proceed with an extension installation or Magento update. The backup
is created automatically and available at System > Tools > Backups.
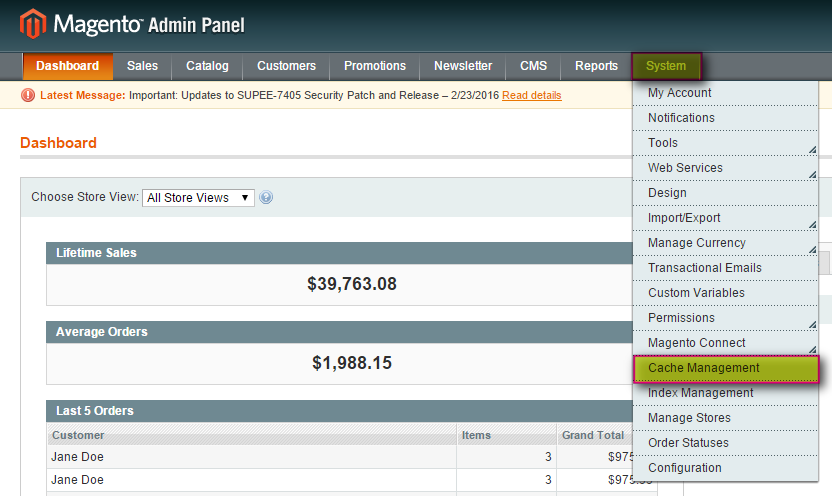
1. From the Admin Panel, select System > Cache Management.
2. This will generate the Cache Storage Management panel. Click Select All.
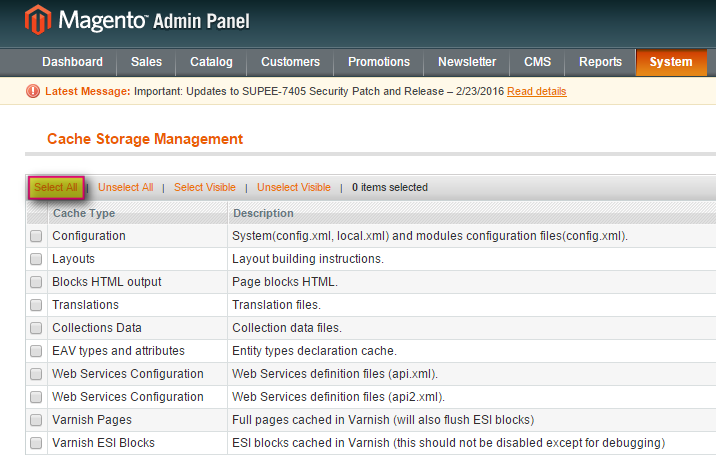
3. From the Actions drop-down list select Disable > Submit.
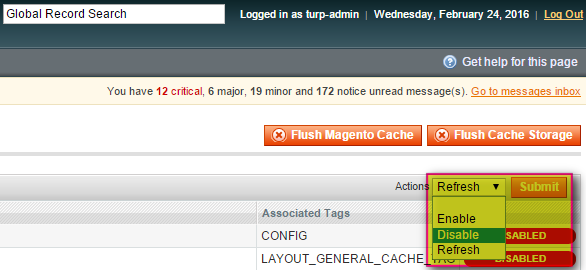
4. To ensure the cache has been completely cleared, click Flush Magento Cache and Flush Cache Storage.
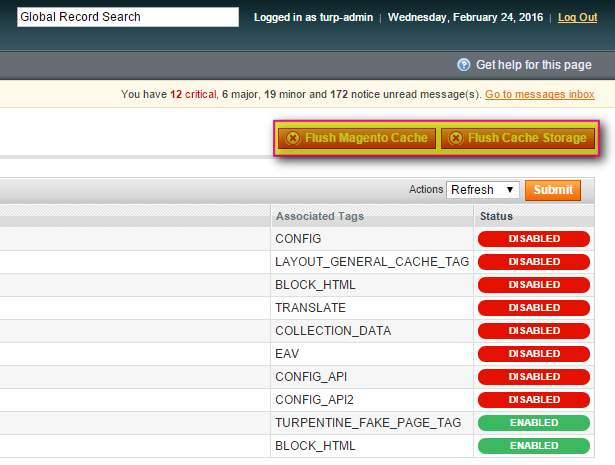
5. It's important that you disable server cache mechanisms such as APC Cache,
Varnish Cache or even CDNs that are loading cached copies of your website.
All of these caching mechanisms can cause unwanted effects during an installation, even crippling a
database and forcing a developer to repair your store.
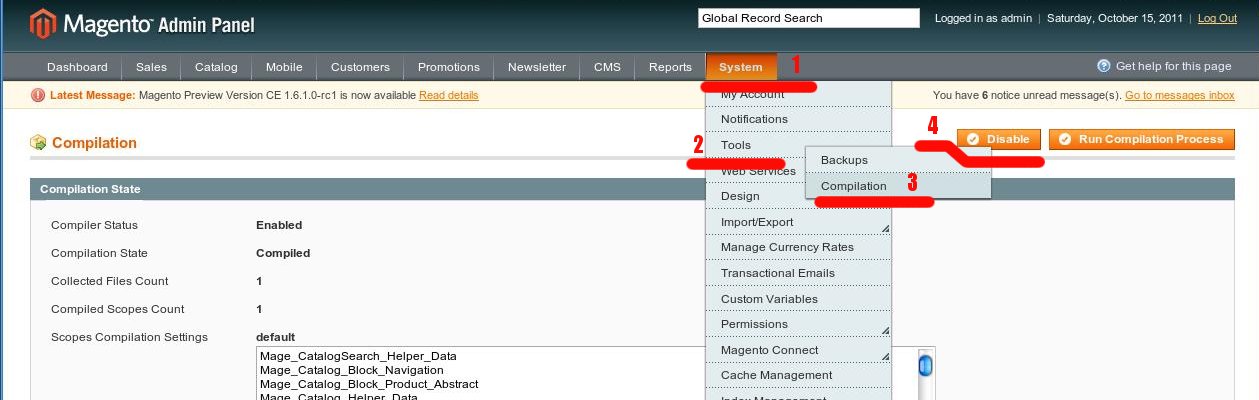
1. Navigate to System > Tools > Compilation and click on then Disable button.
Enabling the Magento Error logs will provide us with an exact sequence of events that your
store went through while attempting to install an extension. If everything goes to plan you
can disable the logs, but if something breaks these logs will be indispensible to our
recovery efforts.
1. From the Admin Area go to System > Configuration > Advanced > Developer > Log Settings.
2. Find the configuration option labeled Enabled and change the dropdown to Yes.
3. Click the Save Config button and wait for the page to reload.
You have successfully enabled error logging and installation logs.
Immediately after your purchase you were provided with a download link of your new software.
This download will contain one to many extension folders and documentation for each of the
extensions.
If you did not download your software at the time of purchase you can log into your account
with us and download copy. Your download will be available for 12 months following your purchase.
If it has been 12 months since your last purchase you will need to purchase the software again
to reactivate your download.
Log into your Mage Plugins customer account here, https://mageplugins.net/customer/account/.
In the left menu of your customer account choose My Downloadable Products.
This will display a complete list of the products which you've purchased in the last
twelve months. Click on the extension which you would like to install and your download will
start.
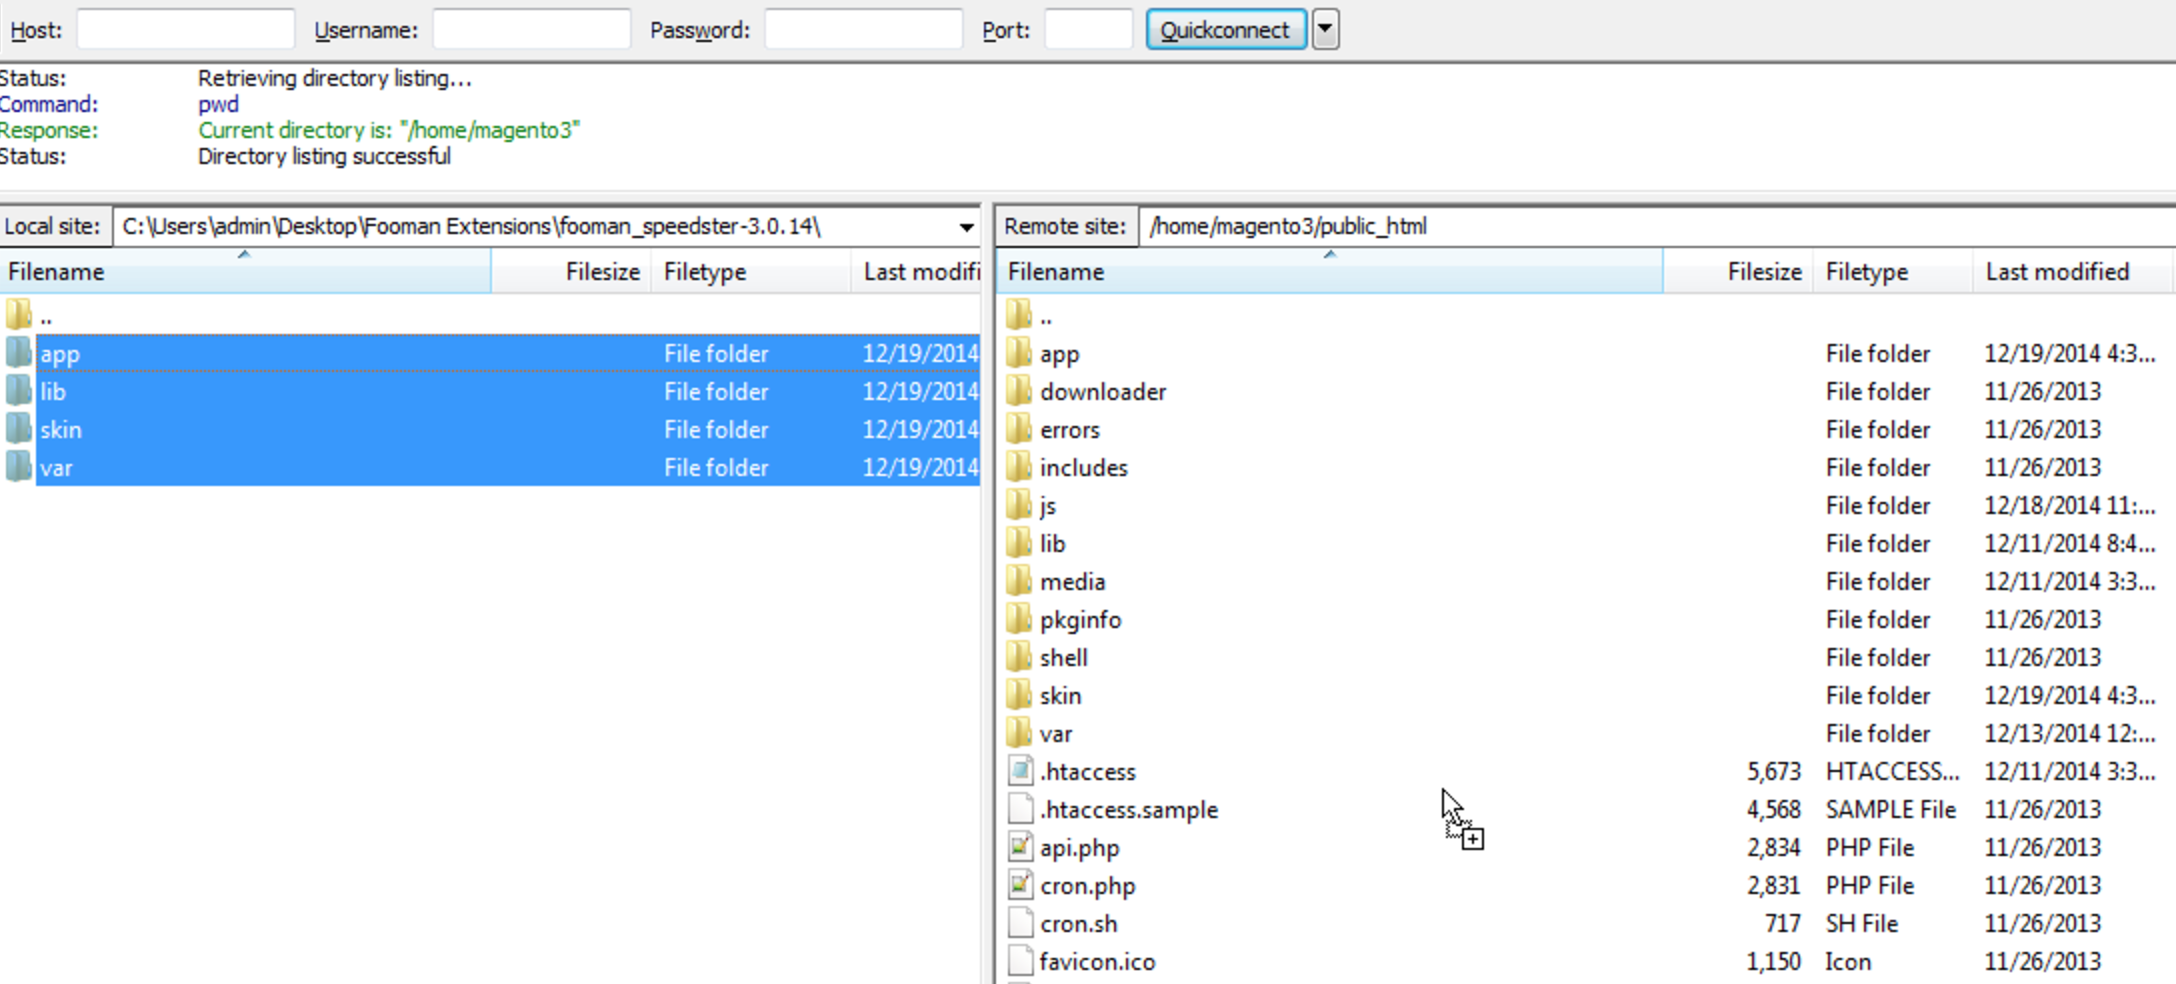
1. Copy The Extension Files. In the compressed archive which you downloaded you will see one to many extension folders.
Within each of these folders is an exact replica of the Github Repository that we use
for developing the extension.
You may delete/ignore any files that are UPPERCASE and/or end with .md.
These files are relevant to development only.
The documentation files that you're reading right now exist under the /docs
folder within each extension directory. You will receive this exact documentation when you
purchase and download the extension. You may read these docs offline.
All other files and folders within each extension directory are important to the successful
installation of your new software. Copy and paste, or drag these files into the WEBROOT of
your magento installation.
Your extension files are now installed and your extension is ready to be installed into
your database.
2. Access your Admin Area to complete the database installation
procedure for your extension.
To confirm that your extension has installed, go to System > Configuration > Advanced > Advanced.
The modules that you just copied the files for will be listed here if Magento is recognizing them.
3. Log Out and Log Back In Now that your extension has been installed,
log out of your admin area and log back into it. Once you've completed this action you
may re-enable the compiler, your magento cache and any other cache mechanisms that you
had disabled.
Your installation is now complete.